




Test the Circuit
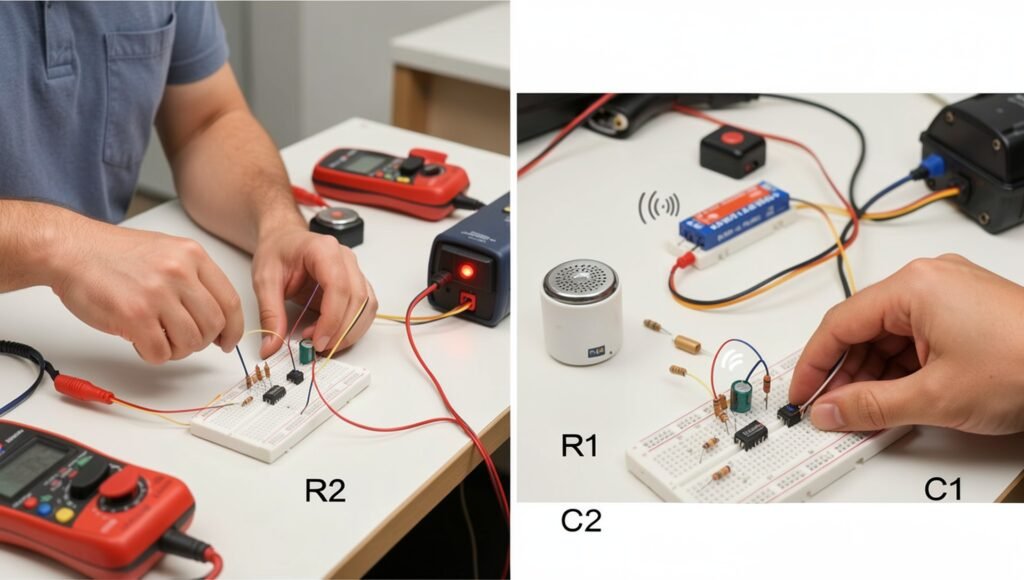
Test and Adjust the Doorbell Circuit
Before applying power, carefully inspect the entire circuit and verify every connection against the circuit diagram. Check that the NE555 timer pins, resistors, capacitor, push button, buzzer or speaker, transistor stage (if used), power supply, and ground connections are correctly wired. Make sure there are no loose jumper wires, accidental short circuits, or incorrectly connected components. Use a low-voltage battery supply appropriate for the components and avoid connecting the project directly to mains electricity.
Once everything has been checked, switch on the power and press the doorbell push button. The 555 timer should begin oscillating and the buzzer or speaker should produce an audible tone. Listen carefully to the sound and check that it starts and stops as expected when the button is operated. If there is no sound, immediately switch off the power and recheck the wiring, especially the 555 output, timing components, speaker connections, and power supply.
If the tone is too high, too low, or otherwise unsuitable, adjust the values of the timing resistor and capacitor. In general, changing the resistance or capacitance changes the oscillator frequency and therefore changes the pitch of the sound. Experiment with different component values gradually, testing the circuit after each change, until you obtain a pleasant doorbell tone. Record the values that produce the best sound so they can be used for the final circuit.


