


A mini desk lamp is a simple and exciting science project that helps children learn how an electric circuit works. By connecting a battery, wires, and an LED, children can build a working lamp that provides a small amount of light for a desk or study table. This project introduces basic concepts such as electricity, polarity, switches, and energy in a safe and enjoyable way.
Materials Required
Gather the following materials before starting:
- 2 AA (1.5 V) batteries
- AA battery holder (or strong tape to hold the batteries together)
- 1 white LED (3 V)
- 2 insulated electrical wires (about 20–30 cm each)
- Small on/off switch (optional)
- 8–10 popsicle sticks or craft sticks
- Hot glue gun or strong craft glue (adult supervision required if using hot glue)
- Scissors
- Electrical tape
- Small piece of cardboard (for the lamp base)
- Ruler
- Pencil
Step 1: Build the Lamp Base
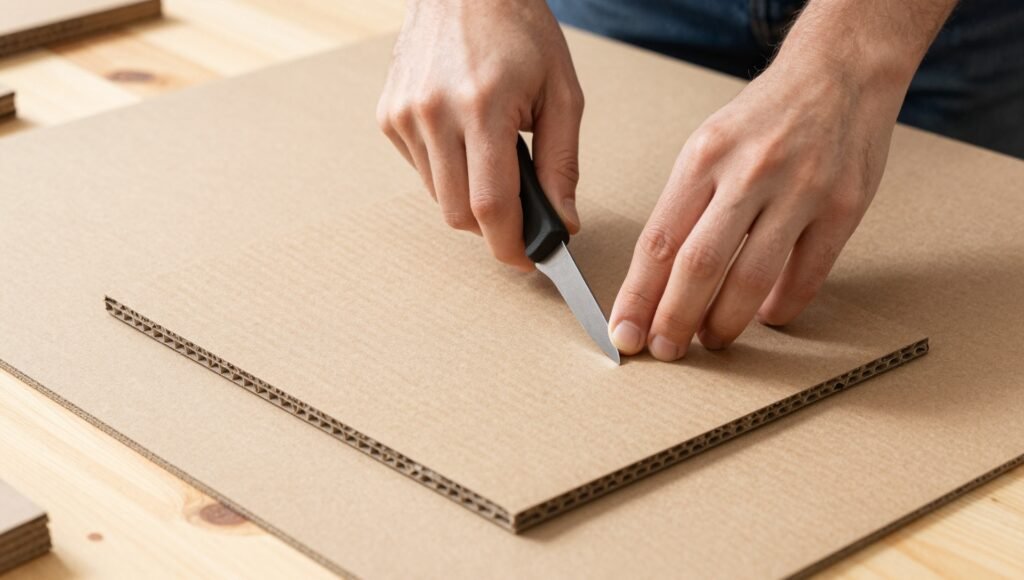
Cut a square or rectangular piece of cardboard about 10 × 10 cm (4 × 4 inches). Glue several popsicle sticks together to make a sturdy base that will support the lamp.
Step 2: Make the Lamp Stand
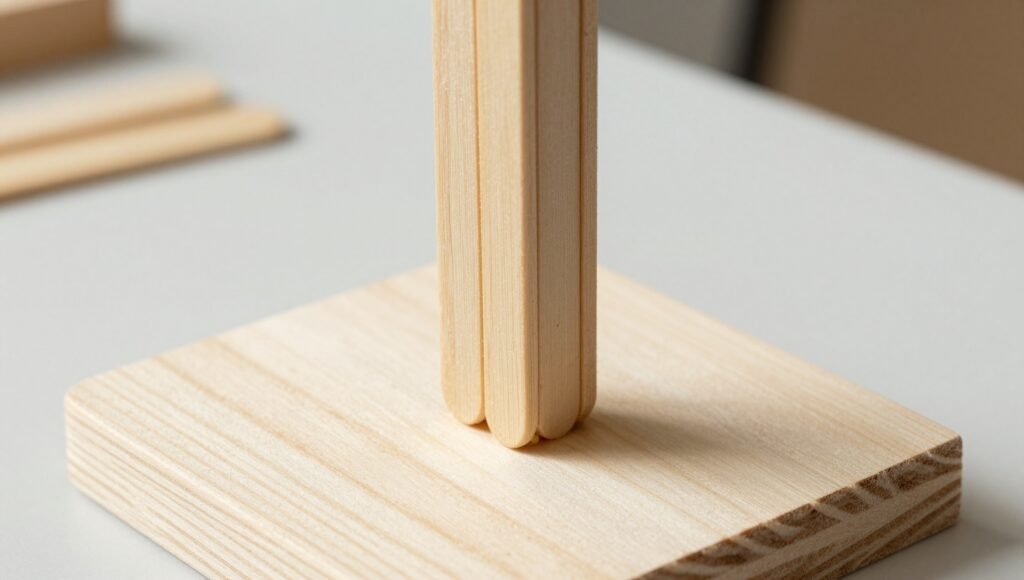
Glue three or four popsicle sticks together lengthwise to create a strong vertical stand. Attach the stand securely to the base and allow the glue to dry completely.
Step 3: Create the Lamp Arm
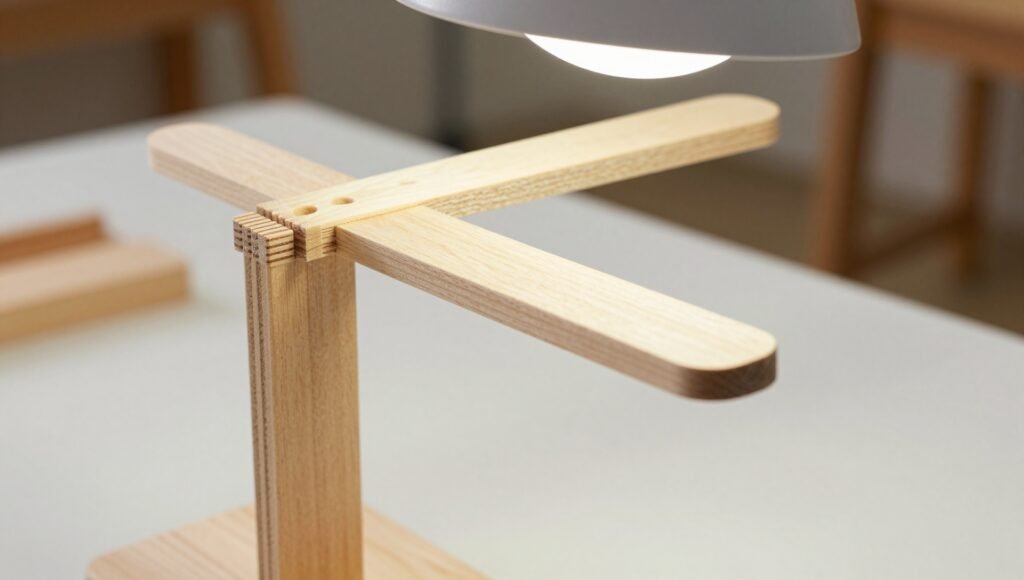
Glue two popsicle sticks together and attach them to the top of the stand at a slight angle. This arm will hold the LED and give the lamp its familiar shape.


