


Step 5: Connect the Wires
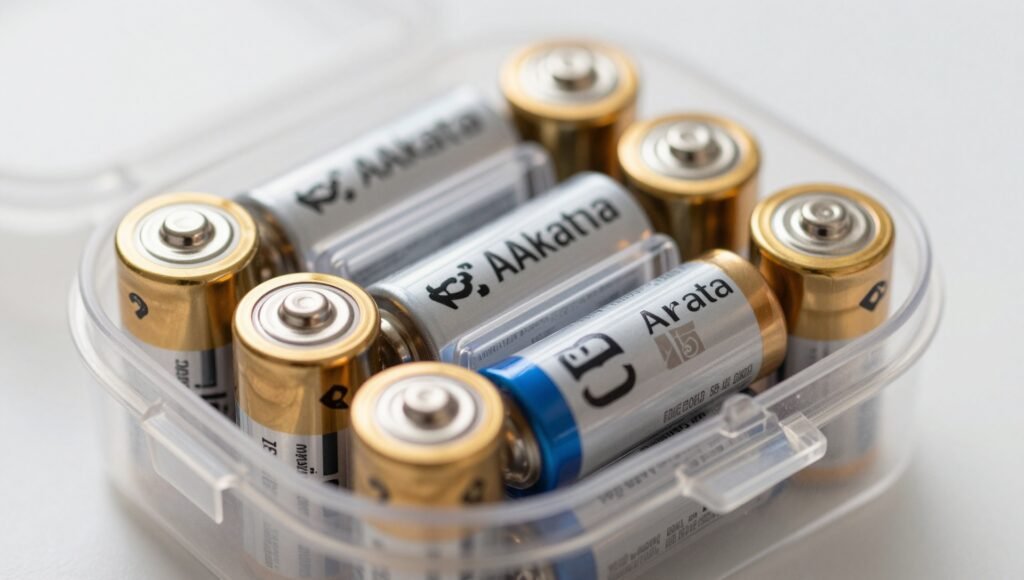
Connect one wire from the positive (+) terminal of the battery holder to the longer leg (positive) of the LED. Connect the second wire from the shorter leg (negative) of the LED back to the negative (–) terminal of the battery holder.
Step 6: Install the Switch (Optional)
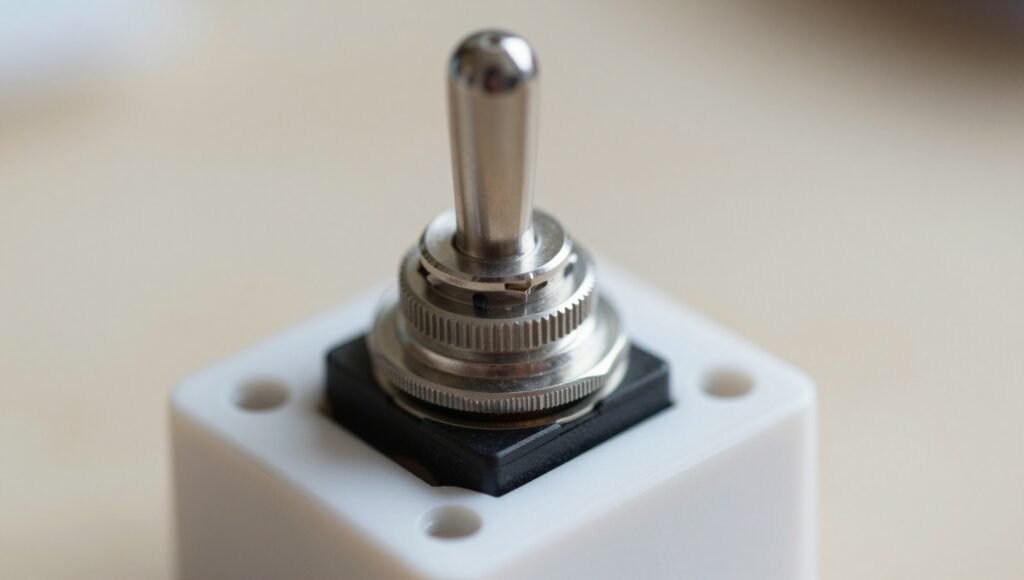
If using a small switch, place it in the positive wire between the battery holder and the LED. This allows you to turn the lamp on and off easily.
Step 7: Mount the LED
Tape or glue the LED securely to the end of the lamp arm so that it points downward like a real desk lamp. Keep the LED legs separated so they do not touch each other.
Step 8: Secure the Components
Tape the wires neatly along the lamp stand and glue the battery holder to the back or bottom of the base. Make sure everything is secure and tidy.
Step 9: Test the Lamp
Turn on the switch or complete the circuit. If all connections are correct, the LED will light up. If it does not, check the battery orientation and make sure the LED is connected with the correct polarity.
Step 10: Decorate Your Lamp
Paint the popsicle sticks, add colorful paper, stickers, or labels, and personalize your lamp with your name or favorite designs.


