




“Tie-dye turns simple fabric into a colorful expression of creativity, freedom, and individuality.”
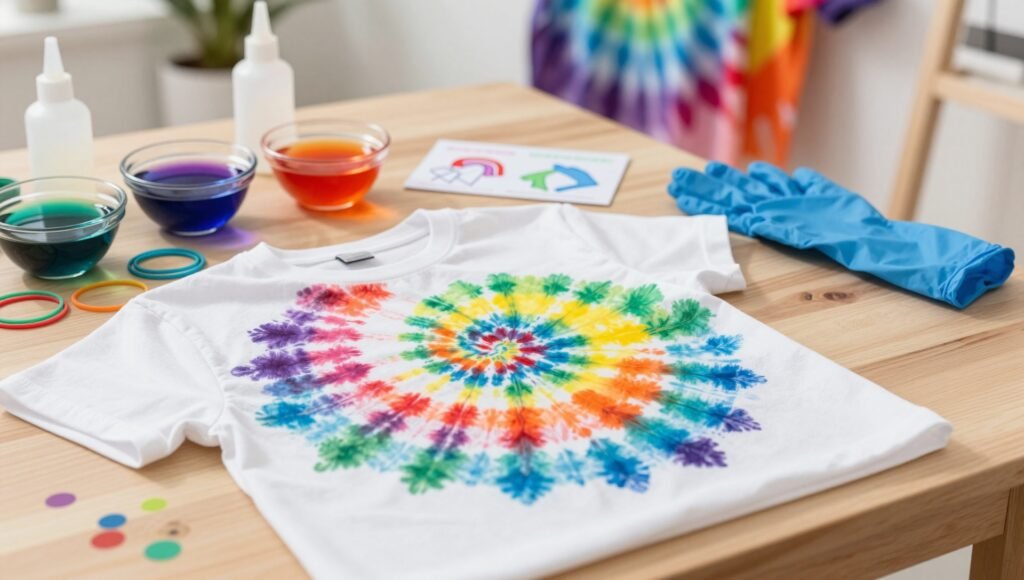
“Tie-dye is where colors meet creativity, transforming every fold and twist into a unique work of art.”
🌈 Rainbow Tie-Dye Patterns for Beginners
Learn how to create colorful rainbow tie-dye designs using simple folding, twisting, and dyeing techniques. This beginner-friendly project is a fun way to transform plain cotton clothing into colorful handmade creations.
🧰 Materials Needed
- White cotton T-shirt, tote bag, or cotton fabric
- Fabric-safe tie-dye colors
- Plastic squeeze bottles
- Rubber bands
- Disposable gloves
- Plastic sheet or old newspaper
- Plastic bags for wrapping the dyed fabric
- Water
- Apron or old clothes for protection
🎨 Beginner-Friendly Rainbow Patterns
🌀 Rainbow Spiral
Pinch the center of the fabric and twist it into a spiral. Secure it with rubber bands and apply different rainbow colors to the sections.
🎯 Rainbow Bullseye
Pinch a small section of fabric and pull it upward. Wrap rubber bands around the fabric at intervals, then apply different colors to create circular rainbow rings.
🌈 Scrunch Pattern
Loosely scrunch the fabric into a ball, secure it with rubber bands, and apply several bright colors randomly for an easy abstract rainbow effect.
🛠️ How to Make a Rainbow Tie-Dye Shirt
Step 1: Prepare the Workspace
Cover your work surface with a plastic sheet or several layers of old newspaper. Wear gloves and old clothing before handling fabric dyes.
Step 2: Prepare the Fabric
Wash the cotton shirt or fabric before dyeing. Keep it slightly damp, following the instructions supplied with your chosen dye.
Step 3: Choose a Pattern
Start with a simple spiral, bullseye, or scrunch design. Beginners can experiment with one pattern at a time.
Step 4: Fold and Secure
Twist, fold, or scrunch the fabric according to your chosen pattern. Secure it firmly with rubber bands to create sections that will receive different colors.
Step 5: Apply Rainbow Colors
Carefully squeeze the dye onto the fabric sections. Use red, orange, yellow, green, blue, and purple to create a cheerful rainbow effect. Avoid completely soaking every section if you want some lighter areas.
Step 6: Wrap and Let the Dye Set
Place the dyed fabric inside a plastic bag and allow the color to develop according to the dye manufacturer’s instructions.
Step 7: Rinse and Wash
Rinse the fabric carefully until the excess dye is mostly removed. Then wash and dry it according to the dye manufacturer’s instructions.
Step 8: Reveal Your Rainbow
Remove the rubber bands, unfold the fabric, and admire your colorful handmade rainbow tie-dye pattern!
💡 Tips for Better Results
⚠️ Safety Tips
Wear gloves and protect clothing and work surfaces from dye. Follow the manufacturer’s instructions for mixing, application, setting, rinsing, and washing the dye. Keep dyes and treated materials away from food, and provide adult supervision when children are participating.


