



Step-by-Step: Basic Soldering
Step 1: Prepare the workspace
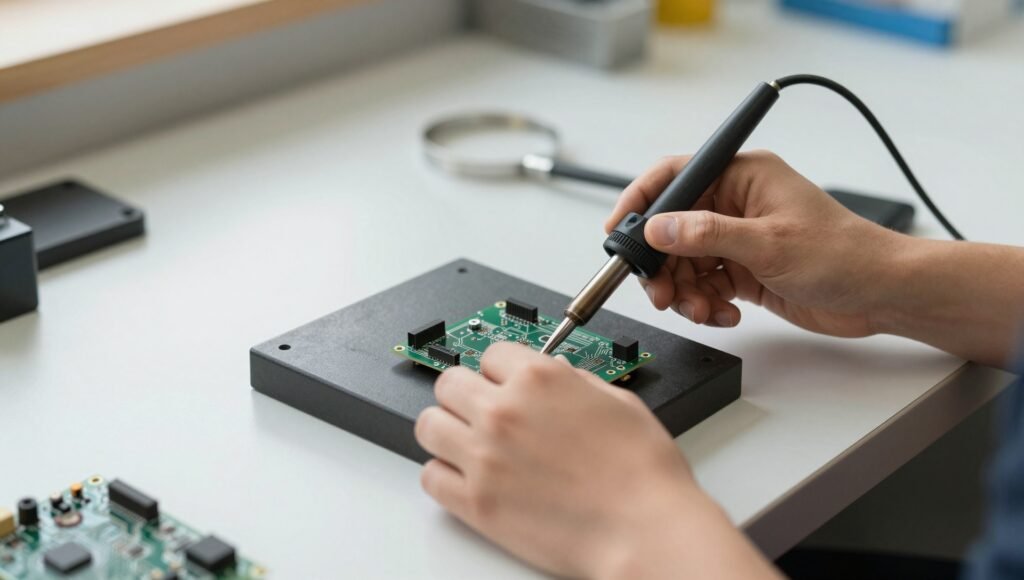
Work on a stable, heat-resistant surface in a well-ventilated area. Keep flammable materials away from the soldering iron.
Step 2: Select the tip
Choose one of the five replaceable tips according to the size of the component and soldering area. A finer tip is generally easier to control on small circuit boards.
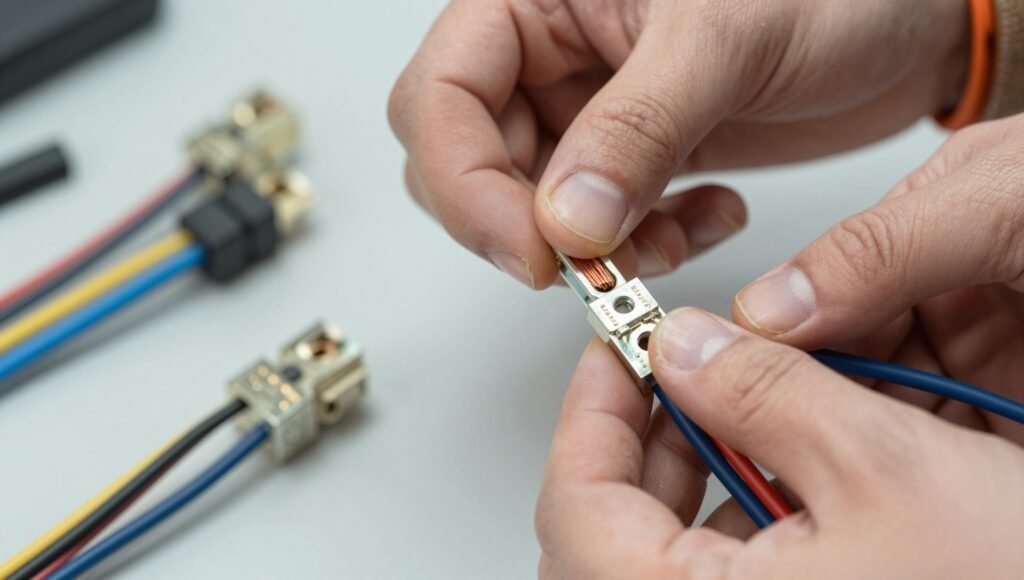
Step 3: Set the temperature
Turn on the soldering iron and select an appropriate temperature. For ordinary electronics soldering, start with a moderate temperature and increase it only when necessary. Avoid excessive heat because it can damage components or circuit-board traces.
Step 4: Tin the tip
Apply a small amount of solder to the heated tip. This process, called tinning, helps transfer heat efficiently and keeps the tip properly coated.
Step 5: Prepare the connection
Strip a small section of insulation from a wire or position the electronic component on the circuit board. Make sure the surfaces are clean.
Step 6: Heat the joint
Touch the heated tip to both parts of the connection at approximately the same time. Allow the joint to heat for a short period.
Step 7: Apply solder
Touch the solder wire to the heated joint rather than simply covering the soldering-iron tip with solder. Apply enough solder to form a small, smooth connection.
Step 8: Remove the solder and iron
Remove the solder wire first, then remove the soldering iron. Allow the joint to cool naturally without moving the components.


