
![]()
DIY Step 3: Decorate Creatively
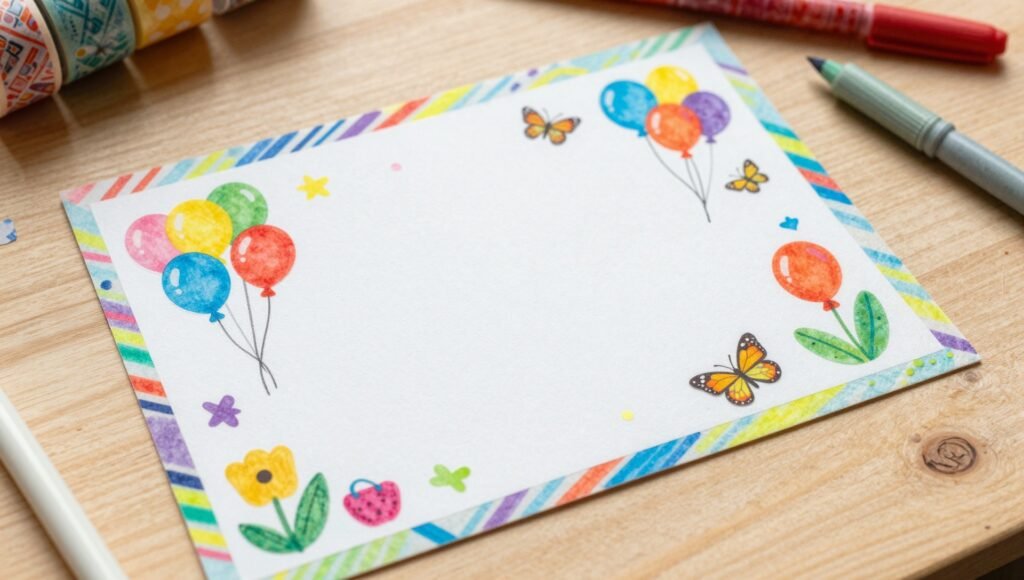
Add colorful borders using markers or washi tape. Children can include hearts, stars, balloons, butterflies, or other fun patterns around the edges. Encourage them to use bright colors and let their imagination guide the design.
DIY Step 4: Prepare the Back

Turn the postcard over. Draw a vertical line down the middle. The left side is for writing the message, while the right side is for the recipient’s name and address. Leave a small space in the upper-right corner for a postage stamp if the postcard will be mailed.
DIY Step 5: Write a Friendly Message

Help children write a short, cheerful note such as:
“Dear Grandma, I hope you have a wonderful day! I made this postcard just for you. Love, Emma.”
Encourage them to use their own words and handwriting.


