




Capacitance Voltage Spike
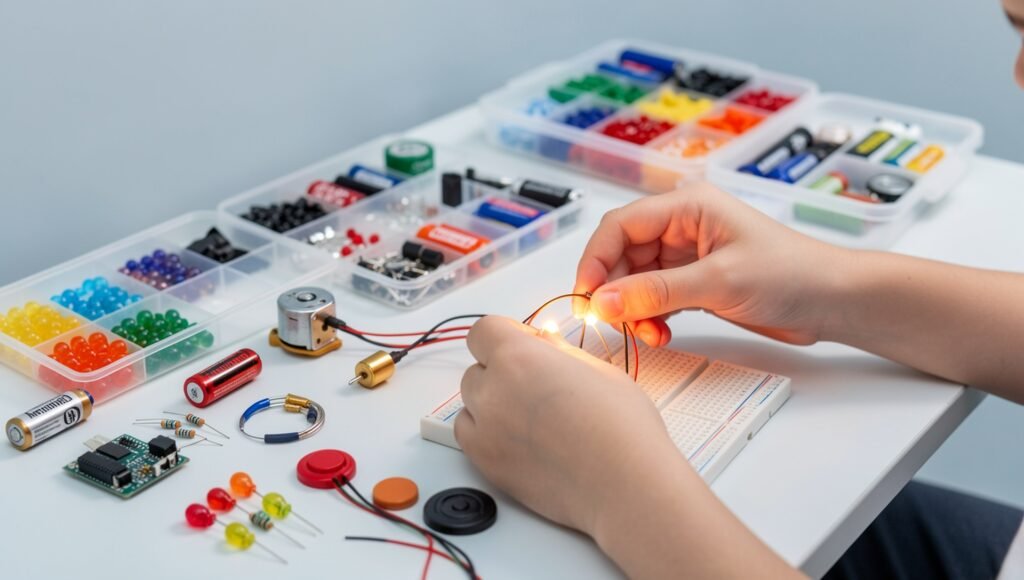
DIY Electronic Kits
Learn how to build simple electronic projects, understand components and develop practical electronics skills.
DIY ProjectsWhat Are DIY Electronic Kits?
DIY electronic kits are collections of electronic components, circuit boards and instructions that allow beginners to build practical electronic projects themselves.
These kits are useful for learning how resistors, capacitors, LEDs, transistors, sensors and other electronic components work together.
Basic Tools and Components
- Breadboard
- Jumper wires
- Resistors
- LEDs
- Capacitors
- Diodes
- Transistors
- Push buttons and switches
- Low-voltage power supply
- Digital multimeter
- Soldering iron for suitable projects
- Safety glasses
Popular DIY Electronic Projects
LED Flasher
Build a simple circuit that makes LEDs turn on and off repeatedly.
Mini Audio Project
Explore simple low-voltage circuits that demonstrate sound generation.
Temperature Sensor
Build a circuit that detects changes in surrounding temperature.
Traffic Light
Create an educational traffic-light circuit using LEDs and a controller.
Electronic Switch
Learn how switches and transistors can control low-voltage circuits.
Mini Robot
Combine motors, sensors and a controller to create a simple robot.
How to Build a DIY Electronic Kit
Choose a Beginner Project
Start with a simple project that matches your current electronics knowledge.
- Choose a low-voltage project.
- Read the complete instructions.
- Identify every component.
- Understand the purpose of the circuit.
Identify the Components
Learn to recognize the components included in your electronic kit.
- Resistors
- Capacitors
- LEDs
- Transistors
- Integrated circuits
- Sensors
- Switches
Understand the Circuit Diagram
Study the circuit diagram before connecting any components.
- Find the power supply.
- Identify positive and negative connections.
- Follow the circuit paths.
- Identify each component.
- Compare the diagram with the actual components.
Build the Circuit
Use a breadboard to assemble the circuit according to the supplied diagram.
- Place components correctly.
- Connect jumper wires.
- Check component orientation.
- Check power and ground connections.
Check Before Applying Power
Carefully inspect every connection before connecting the power supply.
- Check for short circuits.
- Check LED polarity.
- Check IC orientation.
- Check loose wires.
- Confirm the correct voltage.
Power and Test the Circuit
Connect the specified low-voltage power supply and observe the circuit.
- Observe LEDs or indicators.
- Check expected circuit behavior.
- Watch for unusual heat or smell.
- Disconnect power if something appears wrong.
Troubleshoot Problems
If the circuit does not work, troubleshoot systematically.
- Turn off the power.
- Check the power supply.
- Check component orientation.
- Check jumper connections.
- Compare the circuit with the diagram.
Use a Multimeter
A digital multimeter can help you measure voltage, resistance and continuity during troubleshooting.
- Measure battery voltage.
- Check continuity when appropriate.
- Measure resistance with power disconnected.
- Measure voltage using the correct meter setting.
Solder the Completed Circuit
Once the prototype works correctly, suitable projects can be transferred to a permanent circuit board.
- Use a proper soldering stand.
- Keep the work area ventilated.
- Avoid touching the hot soldering tip.
- Inspect solder joints after cooling.
Enclose and Label the Project
Protect the finished circuit with a suitable enclosure when necessary.
- Protect exposed connections.
- Organize wires.
- Label power connections.
- Label switches and controls.
- Keep the circuit documentation.
Common Electronic Components
| Component | Basic Function | DIY Application |
|---|---|---|
| Resistor | Limits current | LED and control circuits |
| LED | Produces light | Status indicators |
| Capacitor | Stores electrical charge | Filtering and timing |
| Diode | Controls current direction | Protection and rectification |
| Transistor | Switching or amplification | Control circuits |
| Sensor | Detects physical conditions | Temperature, light and motion projects |
| Microcontroller | Processes programmed instructions | Robotics and automation |
DIY Electronics Checklist
- ✓ Choose a suitable beginner project
- ✓ Read the circuit instructions
- ✓ Identify all components
- ✓ Understand the circuit diagram
- ✓ Check component polarity
- ✓ Build the circuit carefully
- ✓ Check for short circuits
- ✓ Confirm the correct voltage
- ✓ Test the circuit
- ✓ Troubleshoot systematically
- ✓ Use a multimeter when appropriate
- ✓ Enclose and label the finished project
Conclusion
DIY electronic kits provide a practical way to learn electronics. By starting with simple low-voltage circuits, beginners can understand components, circuit diagrams, testing and troubleshooting.
Explore more DIY projects on The Science Online and gradually progress toward sensors, microcontrollers, robotics and automation.


