




DIY Bottle Planter
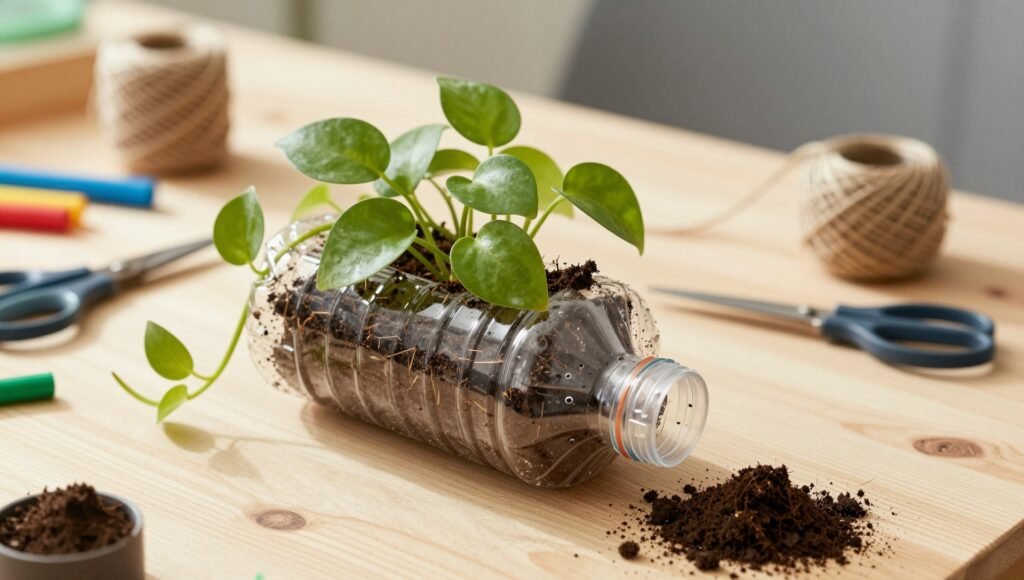
DIY Bottle Planter
Turn an empty plastic bottle into a simple, attractive planter and give everyday waste a new purpose.
About This DIY Project
A DIY Bottle Planter is an easy recycling project that transforms an unused plastic bottle into a useful home for small plants. It is inexpensive, beginner-friendly, and a great way to introduce children and students to creative recycling and sustainable living.
You can use the finished planter for herbs, small flowers, succulents, or other suitable plants. Decorate the bottle with paint, paper, rope, or colorful designs to create your own style.
Materials You Need
One clean, empty plastic bottle.
For cutting the bottle carefully.
Use suitable soil for your selected plant.
A herb, flower, succulent, or suitable seedling.
Paint, markers, ribbon, rope, or stickers.
For watering the newly planted seedling.
How to Make a Bottle Planter
Clean the Bottle
Wash the empty plastic bottle thoroughly and remove any labels. Allow it to dry completely before starting the project.
Mark the Cutting Area
Use a marker to draw a line around the bottle where you want to create the opening. A horizontal cut through the middle works well for a simple planter.
Cut the Bottle
Carefully cut along the marked line with scissors. Take care when handling the sharp edges of the plastic.
Create Drainage Holes
Make a few small drainage holes in the bottom section of the bottle. These holes allow excess water to escape and help prevent waterlogged soil.
Decorate the Planter
Decorate the outside of the bottle using paint, markers, stickers, ribbon, or other craft materials. Let any paint dry before adding soil.
Add Soil
Fill the bottle planter with suitable potting soil. Leave enough space at the top for the plant and for watering.
Plant the Seedling
Make a small hole in the soil and gently place the seedling inside. Cover the roots with soil and lightly press the soil around the plant.
Water and Display
Give the plant a small amount of water and place the planter somewhere appropriate for the plant’s light requirements.
Creative Ideas
- Make several bottle planters and create a small indoor garden.
- Paint each planter with a different colorful pattern.
- Write the name of the plant on the front of the bottle.
- Use bottles of different sizes to create a varied display.
- Attach string or rope to create a hanging bottle planter.
- Use recycled craft materials to decorate the planter.
Safety Tips
Important: Adults should supervise children when cutting plastic bottles. Scissors and sharp plastic edges should be handled carefully. Make sure the finished planter has no sharp edges that could cause injury.
Why Make a Bottle Planter?
This project encourages recycling and creativity while producing something useful. Instead of immediately throwing away an empty plastic bottle, you can transform it into a simple container for growing plants.
It is also an excellent classroom or family activity because students can learn about plants, recycling, environmental responsibility, and basic craft skills at the same time.
Explore More DIY Projects

