




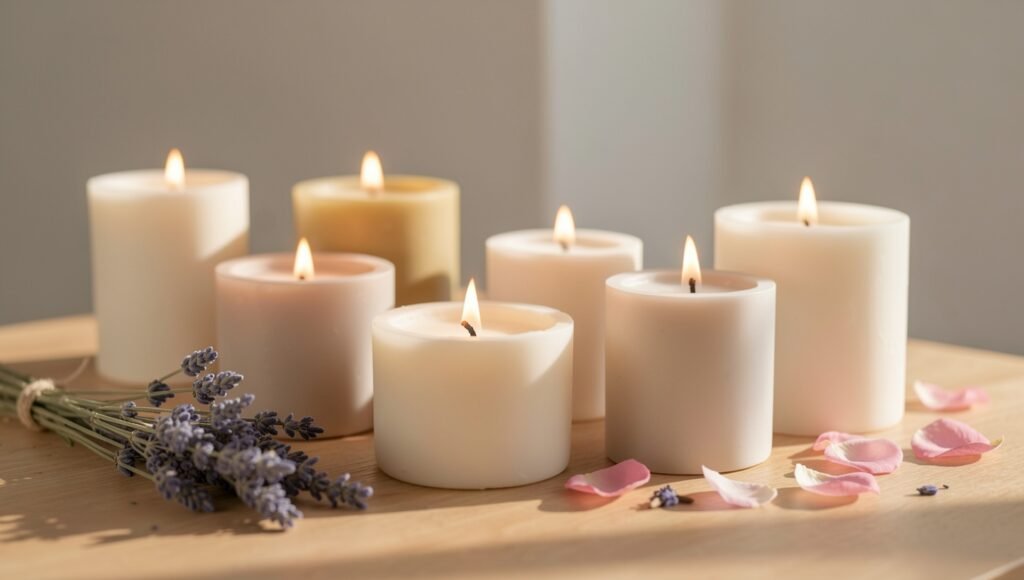
DIY Scented Candles
Make your own beautiful scented candles at home using candle wax, fragrance oil, a wick, and a heat-safe container. This simple DIY project is a creative way to make decorative candles for your home or thoughtful handmade gifts.
Materials You Will Need
- Soy wax or another suitable candle wax
- Candle wick
- Heat-safe glass jar or candle container
- Candle fragrance oil
- Double boiler or suitable wax-melting setup
- Wooden stick or spoon for stirring
- Wick holder or two wooden sticks
- Thermometer suitable for candle making
- Scissors
- Optional: candle dye or decorative labels
Step-by-Step Instructions
Step 1: Prepare the Container
Clean and completely dry the glass container. Place the wick in the center of the container and secure its base with a suitable wick sticker or a small amount of melted wax.
Step 2: Hold the Wick in Place
Keep the wick centered by placing a wick holder across the top of the container. The wick should remain straight while the candle is being poured and cooled.
Step 3: Measure the Wax
Measure enough wax for your container. As a general guide, use the container’s volume and follow the wax manufacturer’s recommended amount.
Step 4: Melt the Wax
Melt the wax using a double boiler or another manufacturer-approved method. Stir gently and monitor the temperature with a thermometer. Follow the temperature instructions provided with your particular wax.
Step 5: Add the Fragrance
Once the wax reaches the recommended temperature for adding fragrance, carefully mix in candle-safe fragrance oil according to the fragrance and wax manufacturer’s recommended usage rate.
Step 6: Add Color
If desired, add a small amount of candle-safe dye. Stir gently until the color is evenly distributed throughout the melted wax.
Step 7: Pour the Wax
Carefully pour the scented wax into the prepared container. Pour slowly to reduce bubbles and avoid disturbing the centered wick.
Step 8: Let the Candle Cool
Place the candle on a stable, heat-resistant surface and allow it to cool naturally. Do not move the container while the wax is setting.
Step 9: Trim the Wick
After the candle has completely hardened, trim the wick to the length recommended by the wick manufacturer, commonly around 5–6 mm before burning.
Step 10: Decorate Your Candle
Add a handmade label, ribbon, or simple decoration to give your candle a personalized appearance. Make sure decorations are kept away from the flame and are not made from flammable materials.
Safety Tips
- Never leave melting wax unattended.
- Use only candle-safe fragrance oils and dyes.
- Use a heat-safe container designed for candles.
- Keep melted wax away from children and pets.
- Never pour water onto a wax fire.
- Burn the finished candle on a stable, heat-resistant surface.
- Never leave a burning candle unattended.
Enjoy Your Handmade Candle
Your scented candle is now ready to enjoy. Experiment with different fragrance combinations, colors, and container styles to create your own collection of handmade candles.


